Installation
Creating a custom Mother project is straight forward. We will need an IDE like Visual Studio, and several Nuget packages to get started. After that you can use several console commands to simplify your development.
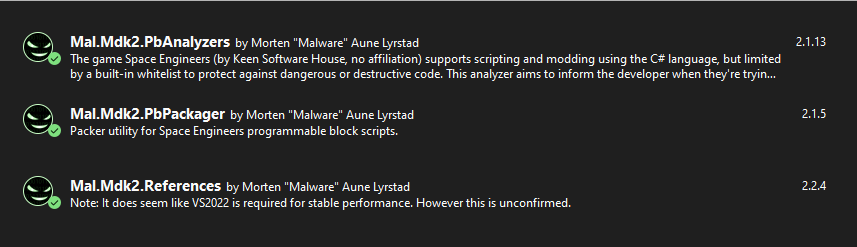
1. Install MDK2
First you will need MDK2, an amazing developer kit that Malware has created. I highly recommend Visual Studio for developing scripts - it's great.
2. Install Mother CLI Nuget Package
To simplify building projects, you should install Mother CLI which will assist you in quickly building out your project so you can get right to work without worrying about wiring things up.

Install Mother CLI using the following command in your terminal:
dotnet tool install --global Mother.CLI
This will make the mother command available across your projects.
Important
You should install Mother CLI as a global dotnet package. Due to differing .NetFramework versions, it cannot be installed for a specific project.
3. Create a new Project
Now that we have Mother CLI installed, we can simply create a new project in our current folder with the new command:
mother new ExampleProject
Note
This framework only includes Core Modules shipped with the Mother OS in-game script.
After running the command, you should now have an ExampleProject folder containing your default project files. With a few exceptions, this folder will look similar to the MDK2 Progammable Block Script template. Mother CLI will automatically download all Mother Core modules into your project.
Example folder structure:
SpaceEngineersScripts/
├── ExampleProject/
    ├── Program.cs
    ├── thumb.png
    ├── Core/
    ├── Modules/
    ├── ...
├── Mother OS/
├── Mother GUI/
4. Create Your First Module
Mother scripts store all of their logic in Modules. Developers can access many powerful features by extending the BaseExtensionModule class. To make this simple, Mother exposes the make:module command to quickly create new modules with the necessary scaffolding.
mother make:module ExampleModule
You should now see an ExampleModule in the Modules folder:
ExampleProject/
├── Program.cs
├── thumb.png
├── Modules/
    ├── ExampleModule/
        ├── ExampleModule.cs
Not bad huh? We've only scratched the surface. Mother CLI can also create commands and events.
5. Build your Project
Use Ctrl + B to build your script. The build tool should automatically save your script into the appropriate directory, for access in the game.
Scripts are typcially found in C:\Users\{USER}\AppData\Roaming\SpaceEngineers\IngameScripts\local
You now have everything you need to get started. Check out Creating a Module next for more info on Module creation and using terminal commands to expose functions to players easily.
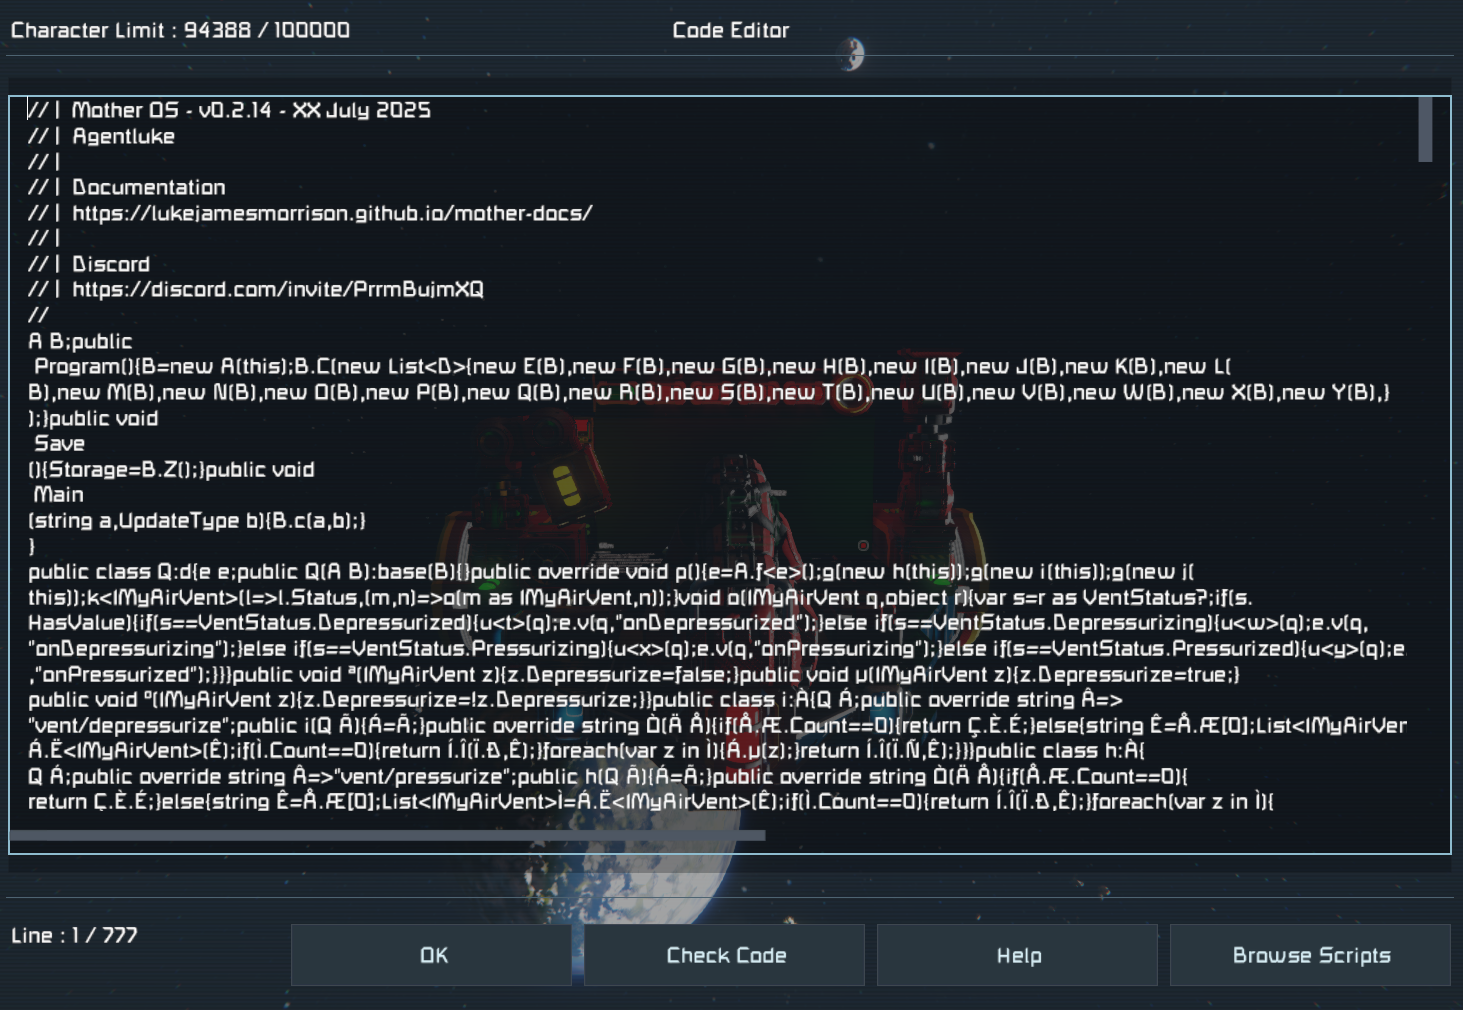
4. Play
When playing Space Engineers, your script should be available via the in game Edit menu on a Programmable Block.
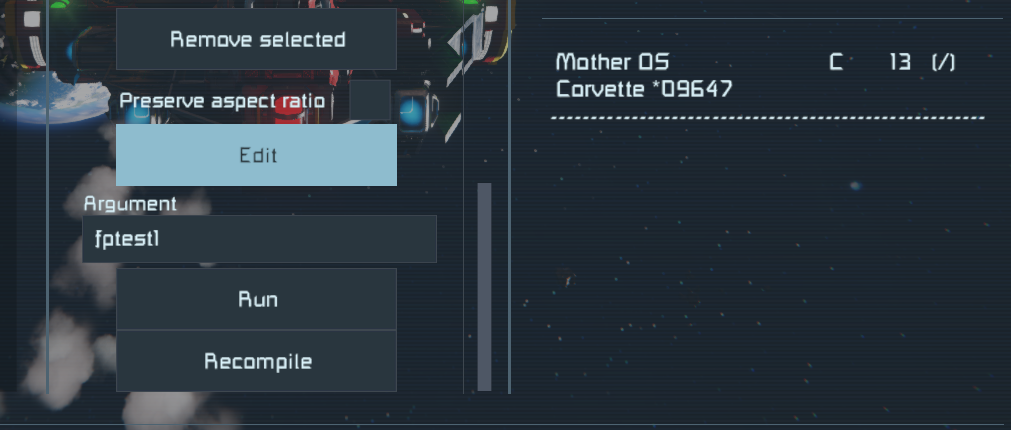
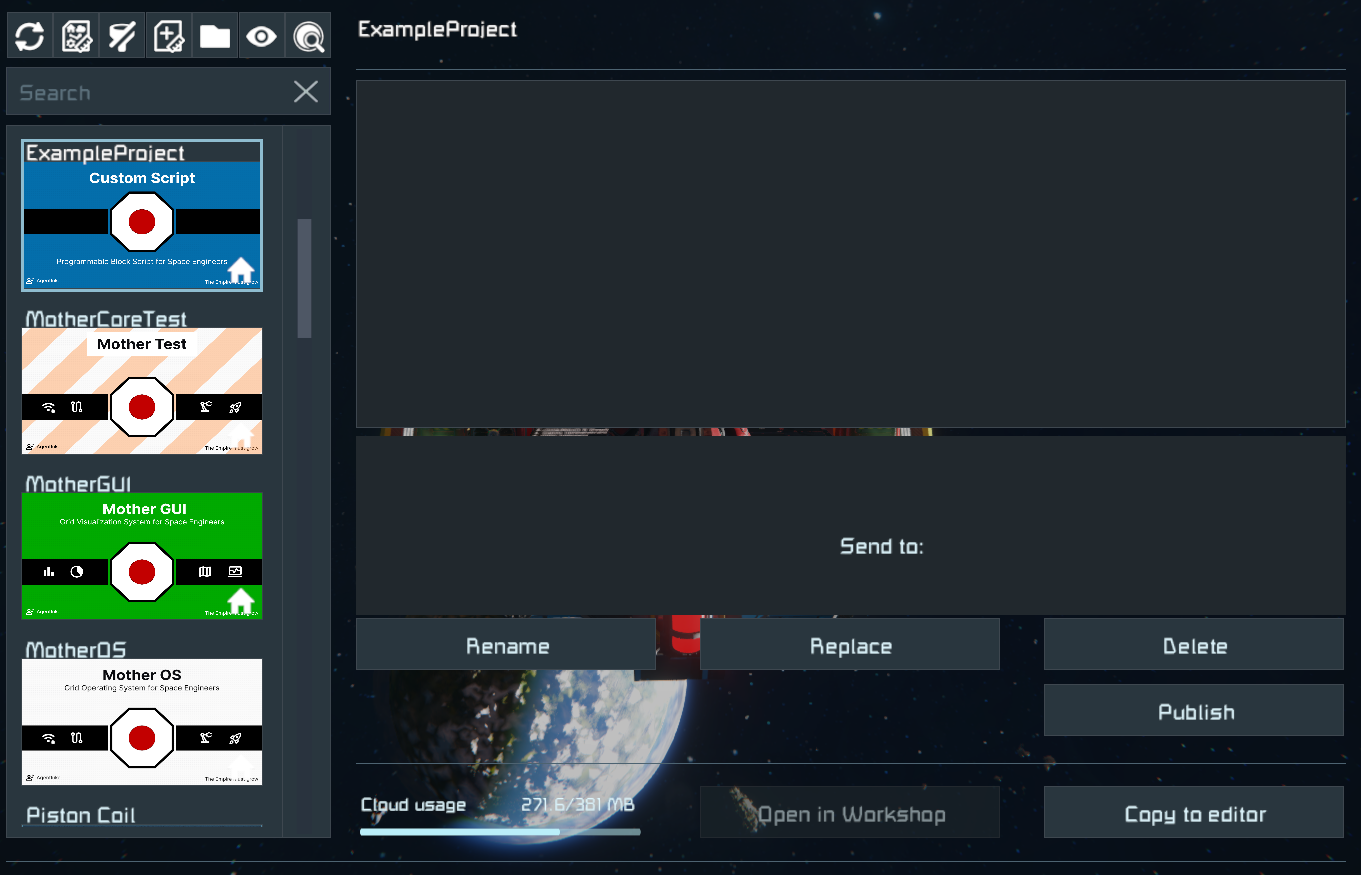
The click Browse Scripts to view all available programmable block scripts.

Double-click the script thumbnail, or click Copy to editor:
Finally, click Ok and your script shoot immediately begin its boot sequence.