MenuView
Menus are the core interaction model in Mother GUI. It turns any supported text surface into a navigable control panel backed by Custom Data, so you can build ship dashboards, engineering menus, and local control consoles without writing a custom renderer.
How Menus Work
A screen can:
- render a menu defined on the Mother GUI programmable block
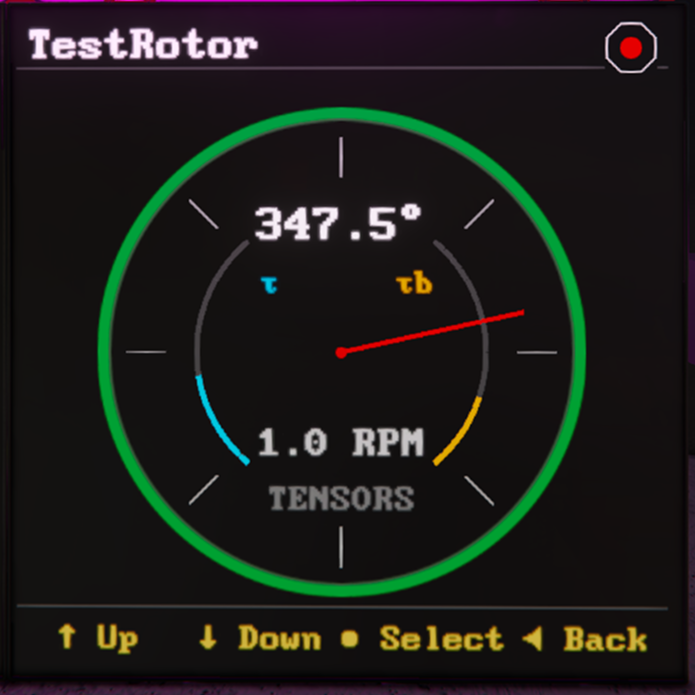
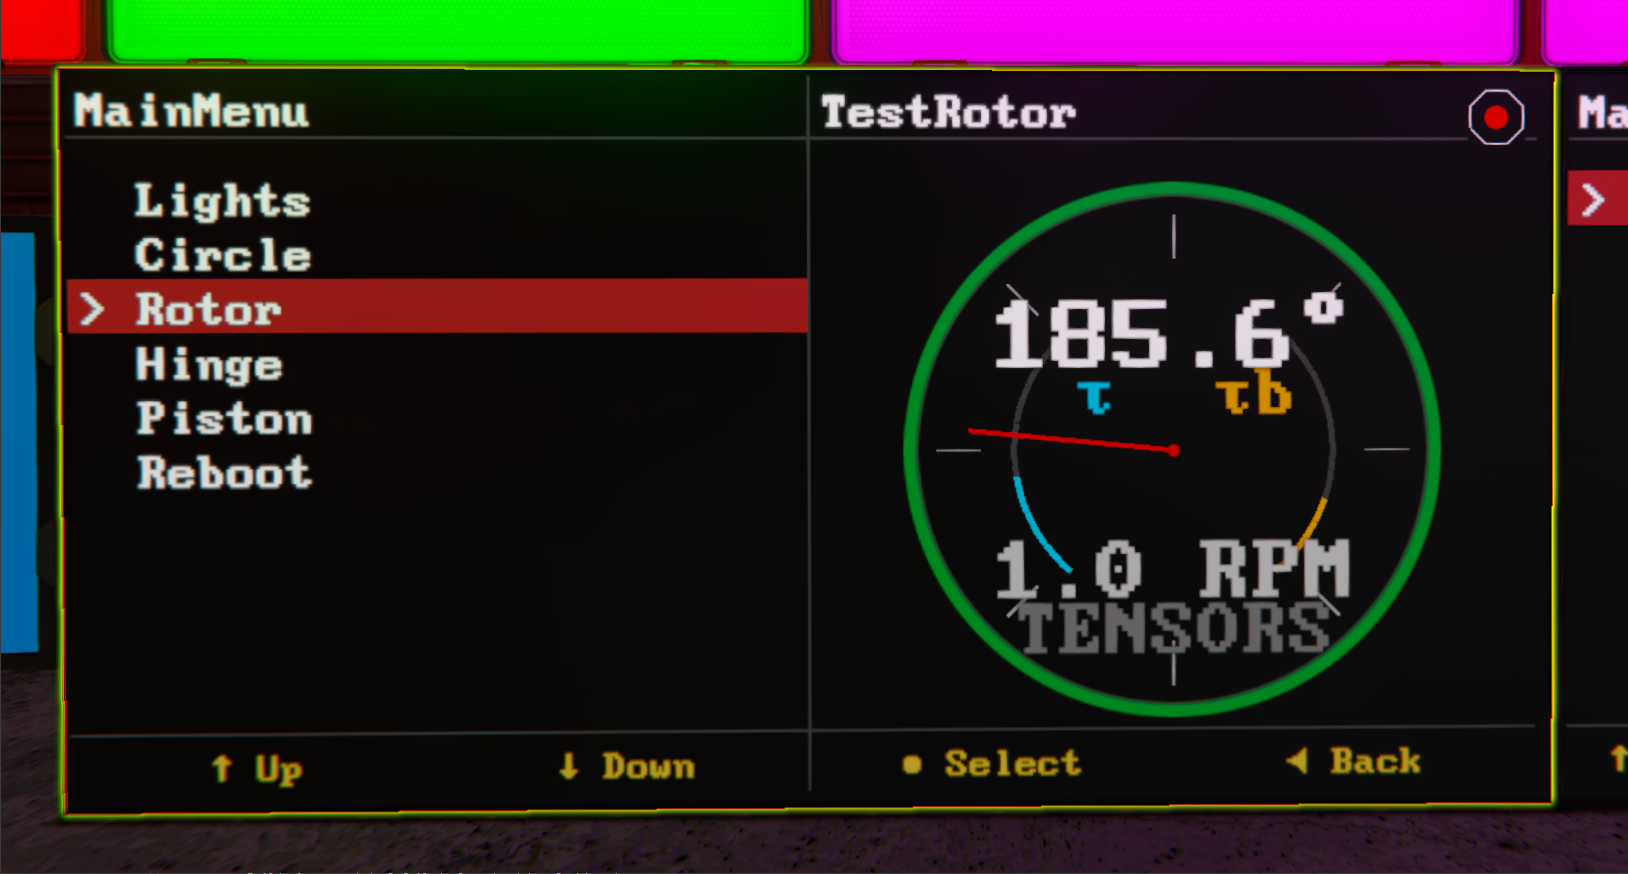
- render indicator views like
RotorView,PistonView, orDoorViewfor common mechanical blocks - switch between menus and preserve navigation history
Minimal Setup
Start by assigning a surface to a menu name. Custom menus live on the Mother GUI programmable block and use [menu:Menu Name] sections.
[surfaces]
0=MainMenu
Then define that menu in the Mother GUI programmable block.
[menu:MainMenu]
Mechanical=
.Rotor=view/go self "RotorView" "Port Rotor"
.Piston=view/go self "PistonView" "Lift Piston"
.Door=view/go self "DoorView" "Hangar Door"
When the surface is discovered, Mother GUI resolves MainMenu from the custom data.
Nested Menu Syntax
Menu depth is defined with leading dots. Every line still needs an = so the INI parser keeps it.
[menu:EngineeringMenu]
Power=
.Reactors=
..Main On=block/on Main Reactor
..Main Off=block/off Main Reactor
.Batteries=
..Charge=battery/charge Main Batteries
..Auto=battery/auto Main Batteries

Mechanical=
.Lift=view/go self "PistonView" "Lift Piston"
.Ramp=view/go self "RotorView" "Ramp Rotor"
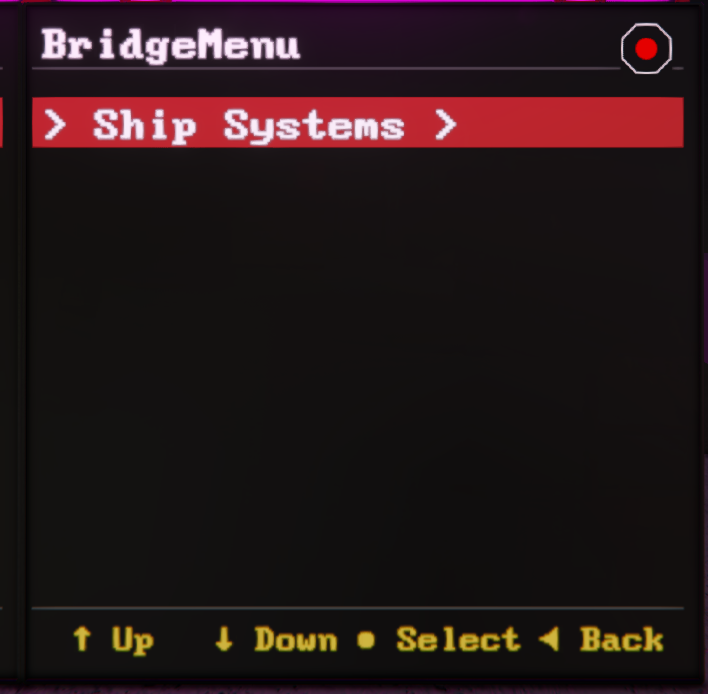
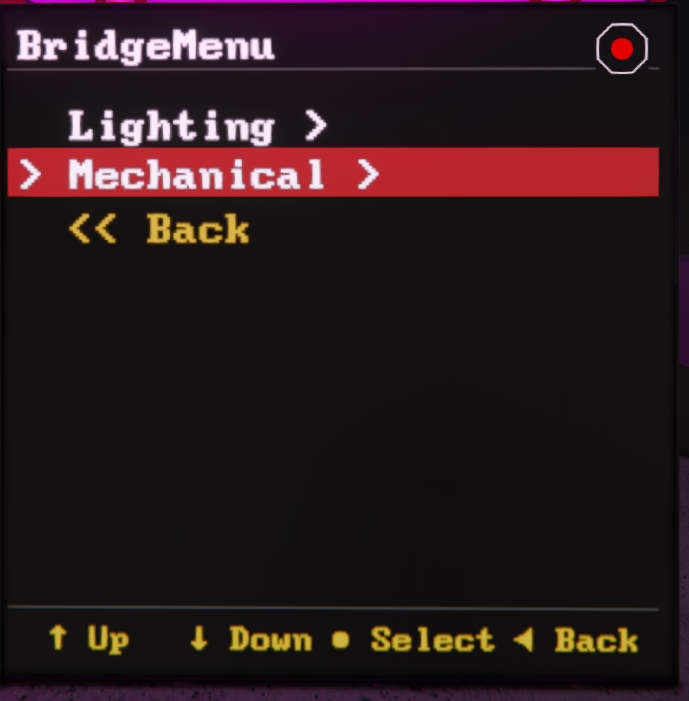
This creates the following menu structure:
Ship Systems /
    |-- Lighting /
        | -- Red Alert
        | -- Clear Alert
    |-- Mechanical /
        | -- Rotor
        | -- Piston
 |  |
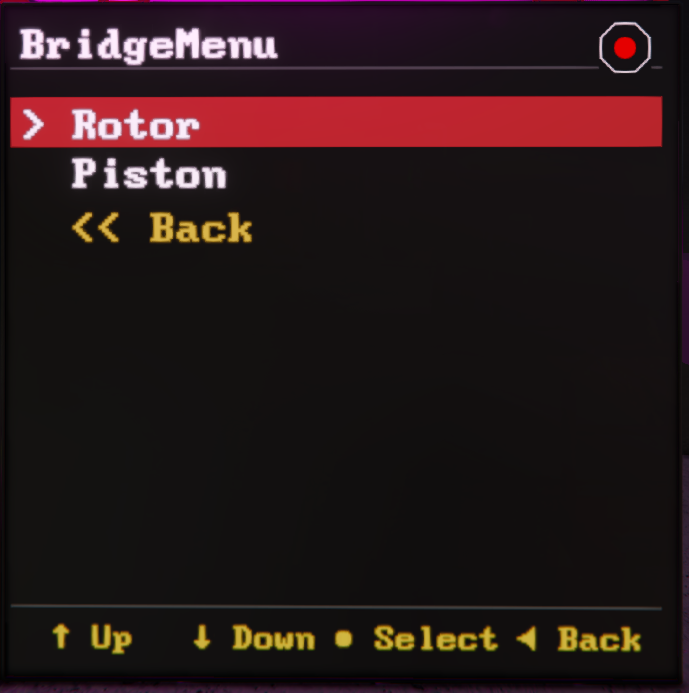 |  |
Lines with children behave like groups. Lines without children behave like selectable commands.
Duplicate Labels
If two entries under the same menu need the same label, give each key a hidden internal id.
[menu]
Light 1=
.1:Red=light/color MenuLight1 red
.2:Green=light/color MenuLight1 green

Light 2=
.3:Red=light/color MenuLight2 red
.4:Green=light/color MenuLight2 green
The 1:, 2:, 3:, and 4: prefixes satisfy the INI key requirements but are not intended as player-facing labels.
Opening Views From Menus
Menu entries often launch another view instead of running a direct block command.
[menu:MainMenu]
Mechanical=
.Ramp=view/go self "RotorView" "Ramp Rotor"
.Lift=view/go self "PistonView" "Lift Piston"
.Airlock=view/go self "DoorView" "Outer Airlock Door"
Using self matters here. It tells Mother GUI to target the display that triggered the selection, so the same menu can be reused on multiple displays without hardcoding block names.
Switching Menus
We use the view/gocommand to navigate between menus:
[menu:MainMenu]
Lighting=menu/go self LightMenu
Power=menu/go self PowerMenu

[menu:LightMenu]
All On=block/on Lights
All Off=block/off Lights

[menu:PowerMenu]
Reactors On=block/on Reactors
Reactors Off=block/off Reactors
Mother GUI preserves menu history across these jumps, so view/back can return the player to the previous menu state instead of always resetting to the root.
Path Navigation
If you need to jump directly into a nested group, use a menu path, we can separate levels with >.
view/go "Bridge LCD" "EngineeringMenu > Power > Reactors";
This is useful for button-triggered shortcuts that should land directly inside a deeper branch.
Widescreen Behavior
On widescreen displays, MenuView stays visible on the left while the selected live view is rendered in a side panel on the right. On smaller displays, the selected view replaces the menu until the player uses view/back.
That split-view behavior is what makes bridge LCDs especially good for Mother GUI. The menu remains usable while the right side becomes a live detail panel.
Navigation Commands
The main commands to interact with a view are:
view/upview/downview/selectview/backview/go